Whether you’re prepping for a glamorous night out, adding flair to your everyday look, or simply craving a change, curling your hair is one of the quickest ways to transform your style. From soft waves to tight ringlets, the versatility of curls is unmatched. But if you’ve ever ended up with flat, frizzy, or lopsided curls, you know it takes more than just wrapping your hair around a hot tool and hoping for the best.
This comprehensive guide will teach you how to curl your hair like a pro, regardless of your hair type or length. We’ll cover curling irons, flat irons, no-heat methods, prep and aftercare, and even curl troubleshooting. Let’s dive in.
How to curl your hair? The Power of Versatility
Curls can convey softness, romance, boldness, or effortlessness—all depending on how you style them. The best part? Curls aren’t one-size-fits-all. How to curl your hair You can tailor your curl pattern to fit your mood, your event, or your hair texture. Whether you have pin-straight hair or natural coils, there’s a curling method that’s right for you.
Section 1: Preparing Your Hair for Curling
1.1 Clean, Dry, and Product-Ready
Before you even touch a curling tool, start with a clean slate.
- Shampoo and Condition your hair with products that match your hair type. Volumizing products help fine hair hold curls, while smoothing products tame frizz in thick or coarse hair.
- Towel-dry gently and use a leave-in conditioner or serum for added moisture.
- Always apply a heat protectant spray before using heat tools. This helps shield your strands from damage while improving curl longevity.
1.2 Drying Techniques Matter
Never curl wet hair with heat tools—it can literally fry your strands. Blow-dry your hair completely, or air-dry it if you’re going heat-free. For extra volume, blow-dry your hair upside down or with a round brush.
Section 2: Choosing the Right Tool for the Curl You Want
Different tools produce different curl types. Understanding them is key to mastering your style.
2.1 Curling Iron (Classic Choice)
- Barrel sizes:
- ¾ inch = tight ringlets
- 1 inch = standard curls
- 1.5+ inch = loose waves
- Clamp vs. Wand:
- Clamps create uniform curls.
- Wands offer a more natural, beachy finish.
2.2 Flat Iron (Surprisingly Versatile)
Yes, flat irons can curl too! With the right flick of the wrist, you can create everything from soft bends to defined curls.
- Use a narrow flat iron (around 1 inch wide).
- Twist the wrist as you pull the tool down the hair shaft.
2.3 Hot Rollers
Perfect for old-Hollywood glam or multitasking while doing your makeup. Rollers give volume and a longer-lasting curl.
- Heat them up.
- Wrap sections and pin them in place.
- Let them cool before removing.
2.4 No-Heat Curling Tools
Ideal for those avoiding damage or styling overnight.
- Flexi rods create tight curls.
- Foam rollers offer comfort for sleeping.
- Curling ribbons or headbands are perfect for soft waves.
Section 3: How to curl your hair with Different Tools
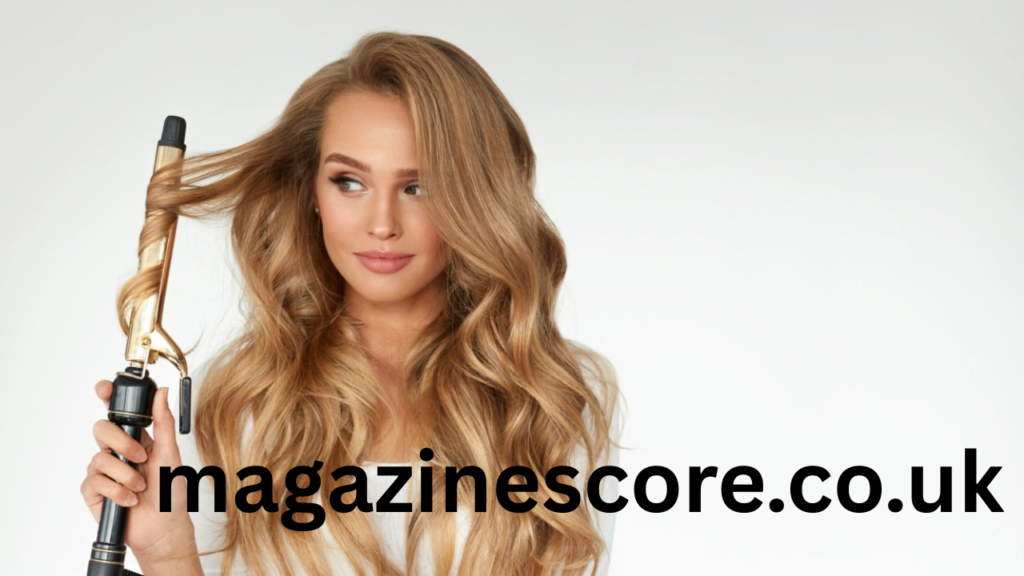
3.1 Using a Curling Iron
Step-by-Step:
- Heat up the iron to 300–350°F for fine hair, 375–400°F for thick hair.
- Divide your hair into sections—usually four quadrants.
- Take a 1-inch section and clamp mid-shaft.
- Twist the iron away from your face, wrapping the hair around the barrel.
- Hold for 8–12 seconds, then release gently.
- Let it cool in your palm or pin it for long-lasting hold.
- Repeat on all sections.
Pro Tip: Alternate the direction of curls (toward and away from face) for a more natural look.
3.2 Using a Flat Iron
Step-by-Step:
- Clamp a small section near the root.
- Rotate the flat iron 180 degrees away from your face.
- Slowly glide it down the length of your hair.
- Release and let cool.
Pro Tip: Move slowly for tighter curls and faster for looser waves.
3.3 Using Hot Rollers
- Heat rollers according to package instructions.
- Section off hair and roll from ends to root.
- Secure with clips or pins.
- Let them set for 15–30 minutes (until cool).
- Gently remove and finger-comb.
Previous article; Panama vs Estados unidos A Deep Dive into the Multifaceted Relationship
Section 4: Heat-Free Curling Methods
Whether you’re preserving your hair’s health or just want an overnight style, heatless curling is a game-changer.
4.1 Braiding for Waves
- For soft beachy waves, divide damp hair into two loose braids how to curl your hair.
- For tighter texture, try multiple smaller braids.
- Sleep overnight, then undo and tousle.
4.2 Twisting Buns
- Twist damp hair into two or more mini buns.
- Pin securely and sleep on them.
- Wake up to voluminous curls or waves.
4.3 Headband Wrap Method
- Place a stretchy headband over your head like a crown.
- Wrap sections of damp hair around the band.
- Leave overnight and unravel for loose curls.
Section 5: Curling Hair by Type and Length
5.1 Short Hair
- Use a ¾ to 1-inch barrel or flat iron.
- Curl small sections for better definition.
- Avoid curling too close to the root.
5.2 Medium-Length Hair
- Most versatile—works with all curling methods.
- Try curling from mid-shaft down for a modern wave.
5.3 Long Hair
- Use larger barrels for effortless waves.
- Section thoroughly to avoid uneven curls.
- Clip curls while cooling for staying power.
5.4 Fine or Thin Hair
- Use a lower heat setting (no more than 350°F).
- Prep with volumizing mousse or spray.
- Don’t overload with product—it can weigh curls down.
5.5 Thick or Coarse Hair
- Higher heat (375–400°F) may be needed.
- Curl smaller sections for better definition.
- Use smoothing serum to manage frizz how to curl your hair.
Section 6: Setting and Styling Curls
6.1 Let Curls Cool Before Touching
This is crucial! Touching curls too soon can undo all your hard work. Let them cool completely to “set” the shape.
6.2 Brush Out or Finger Comb?
- Use a wide-tooth comb or fingers for beachy, textured waves.
- For a polished finish, gently brush with a boar bristle brush.
6.3 Product Time
- Texturizing spray adds volume and grit.
- Hair spray holds curls longer—light mist for soft curls, firm spray for structure.
- Serums or oils add shine and tame frizz.
Section 7: Curl Maintenance & Troubleshooting
7.1 Making Curls Last
- Curl hair a little tighter than desired—they’ll loosen naturally over time.
- Sleep with hair in a loose bun or silk scarf to preserve curls.
- Avoid over-brushing after styling.
7.2 Common Curling Problems
- Curls won’t hold: You may need stronger products, smaller sections, or higher heat (use with caution).
- Frizzy curls: Apply smoothing products and ensure you’re not curling damp hair.
- Uneven curls: Be consistent with section size and curling direction.
Section 8: Curl Styles to Try
Here are some fun curl styles to switch things up:
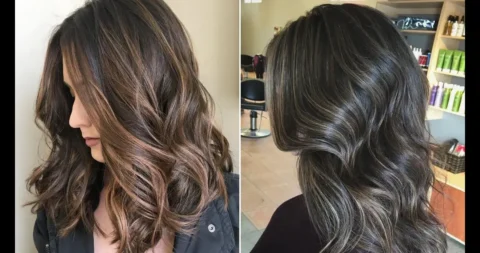
- Beach Waves: Loose, textured curls with a middle part.
- Hollywood Glam: Polished, defined curls brushed into waves.
- Boho Curls: Mix tight and loose curls with added braids.
- Vintage Rollers: Think pin-up girl style with high-volume curls.
Conclusion
How to curl your hair is part technique, part creativity. With the right prep, tools, and a bit of patience, anyone can master the art of curling—whether you prefer heat tools or heat-free methods. Don’t be afraid to experiment with different techniques to find your signature curl style.
Remember, no two heads of hair are the same. What works for one person might not for another, so stay curious and keep playing around. With this guide, you’re well on your way to being your own hairstylist.
