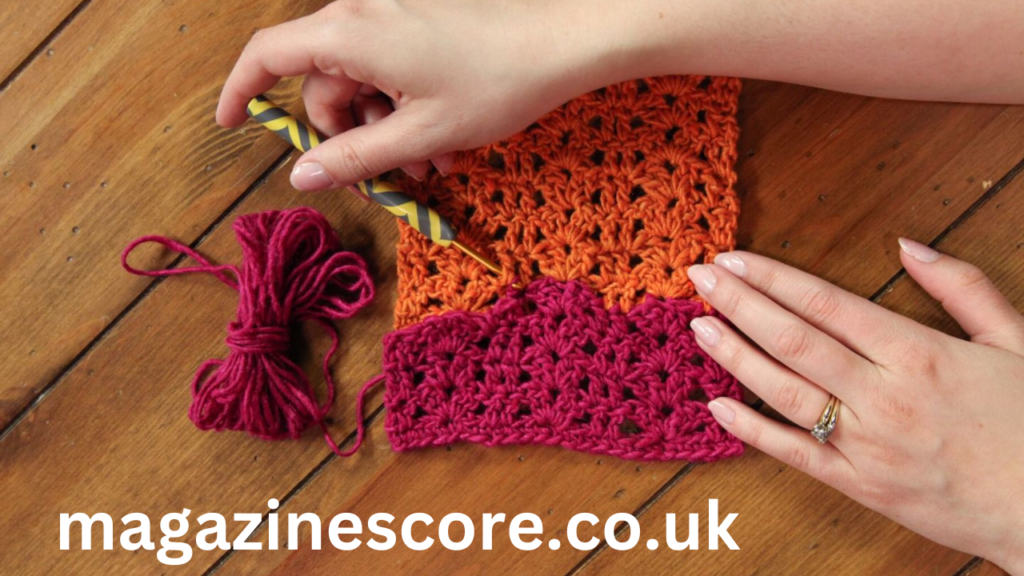
Crocheting is a rewarding craft that allows you to create beautiful and functional items such as blankets, scarves, garments, and home décor. However,how to finish a crochet project properly is just as important as starting one. A well-finished project ensures durability, aesthetic appeal, and longevity. Whether you’re working on a simple scarf or a complex afghan, this comprehensive guide will walk you through the essential steps to complete your crochet project professionally.
Why Proper how to finish a crochet project
Many crocheters, especially beginners, may be tempted to rush through the final steps of a project. However, finishing correctly is what separates a polished, professional-looking item from one that appears rushed or incomplete. Proper finishing ensures:
- Durability: Weaving in ends securely prevents unraveling over time.
- Neat Appearance: Blocking and shaping refine the overall look.
- Comfort & Functionality: Seamless finishes make wearable items more comfortable.
- Longevity: A well-finished project withstands washing and regular use better.
Now, let’s go through the essential steps how to finish a crochet project the right way.
Step 1: Checking Your Work
Before you officially “finish” your crochet project, take a moment to check your work. Look for:
- Uneven stitches – Are all stitches consistent in size?
- Mistakes – Any skipped stitches or misaligned patterns?
- Tension issues – Does the piece look stretched or too tight?
If you notice any major errors, you might consider undoing a few rows and correcting them. Otherwise, minor imperfections can often be fixed in the finishing stages.
Step 2: Fastening Off
Once you’ve completed the final stitch of your project, it’s time to fasten off. This step ensures that your work doesn’t unravel.
How to Fasten Off Properly:
- Cut the working yarn, leaving at least a 6-inch tail (longer for bulkier projects).
- Pull the yarn tail through the last loop on your hook.
- Tug gently to tighten and secure the final stitch.
For extra security, you can thread the tail through a few stitches before weaving it in.
Previous article; The Ultimate Guide to the Cambered Bar Bench Press
Step 3: Weaving in Ends how to finish a crochet project
Weaving in ends is a crucial step in finishing a crochet project. It prevents unraveling and gives your work a clean look.
How to Weave in Ends Correctly:
- Thread the yarn tail onto a yarn needle.
- Weave it through the back of stitches, following the pattern’s flow (move in one direction for about an inch, then reverse direction for added security).
- Trim excess yarn, leaving a tiny bit to prevent fraying.
Tip: Avoid weaving in ends too tightly, as this can cause distortion in the fabric.
Step 4: Blocking Your Project
Blocking is a finishing technique that shapes your crochet piece, evens out stitches, and enhances drape.
Types of Blocking:
- Wet Blocking (Best for Natural Fibers)
- Soak your project in lukewarm water for about 10-15 minutes.
- Gently squeeze out excess water (do not wring).
- Lay the piece flat on a blocking mat or towel and pin it into shape.
- Let it air dry completely.
- Steam Blocking (Best for Acrylic & Blends)
- Lay your project flat on a heat-safe surface.
- Hold a steam iron or steamer above the fabric (do not touch) and allow steam to penetrate.
- Shape the piece as needed and let it cool completely.
- Spray Blocking (For Lightweight Projects)
- Lightly mist your how to finish a crochet project with water using a spray bottle.
- Pin it into the desired shape and let it dry.
Tip: Always test blocking on a small swatch first to ensure your yarn responds well.
Step 5: Adding Finishing Touches
Some projects require extra steps to look their best. Here are common finishing touches:
Seaming Pieces Together
For multi-piece projects like sweaters or amigurumi, you’ll need to sew the parts together using one of these methods:
- Whip Stitch: Simple and easy for joining two edges.
- Slip Stitch Seam: Done with a crochet hook for a stronger join.
- Mattress Stitch: Ideal for seamless, invisible joins.
Edging & Borders
Adding a border can enhance your project’s appearance and help it hold its shape. Common border techniques include:
- Single crochet edging – A clean, simple finish.
- Shell stitch border – Decorative and elegant.
- Picot edge – Adds a delicate touch to shawls or blankets.
Adding Embellishments how to finish a crochet project
Consider adding extra details such as:
- Buttons
- Tassels or fringe
- Appliqués
- Pom-poms
Step 6: Final Inspection
Before calling your project complete, do a final check:
✔ Ensure all ends are woven in securely.
✔ Check seams and edges for neatness.
✔ Look for any missed stitches or loose loops.
✔ Test functionality (for wearable items, try them on).
Step 7: Caring for Your Finished Crochet Piece
Proper care extends the life of your crochet work. Follow these tips:
- Washing: Always follow yarn label instructions (hand-wash delicate items).
- Drying: Lay flat to dry to prevent stretching.
- Storage: Store in a dry, cool place to prevent mildew or moth damage.
For long-term storage, place garments in breathable cotton bags rather than plastic.
Common Mistakes to Avoid When Finishing a Crochet Project
- Skipping the Weaving-In Step: Loose ends can cause unraveling.
- Cutting Yarn Too Short: Always leave enough for secure weaving.
- Not Blocking the Project: This can result in uneven stitches and curling edges.
- Overstretching While Blocking: This may distort the shape permanently.
- Ignoring Tension Differences: If different sections have varying tightness, blocking might not fully fix it.
Conclusion
How to finish a crochet project properly is just as crucial as the stitching process. Taking the time to fasten off correctly, weave in ends, block your work, and add finishing touches ensures a polished, professional-looking result. By following these steps, you’ll not only enhance the durability of your project but also take pride in a well-crafted, high-quality piece.
So next time you complete a crochet project, don’t rush the finishing steps—embrace them as an essential part of the process!


